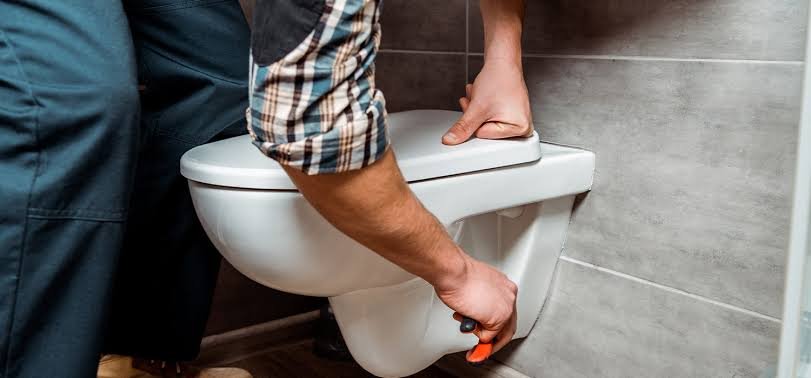
Installing toilet flush is an essential and very basic aspect for keeping your bathroom functional and efficient. Whether you are going for replacement of an old system or installation of a brand new one, but getting to understand the process has a potential to save you time, cash as well as frustration. A flush system works smoothly and, in doing so, saves water and enhances cleanliness in the bathroom. Visit https://www.plumbersingapore.org/toilet-flush-installation/ to trained professionals for installation of toilet flush.
Understanding Basics of Toilet Flush Systems
There are several types of toilet flush systems: gravity-fed, pressure-assisted, and dual-flush ones. Gravity-fed systems use the natural force of water to flush. This is simple and reliable. Pressure-assisted systems have compressed air to give a powerful flush. Those are idea for high-use environments. Dual-flush toilets are eco-friendly because they can let the user choose between a full or partial flush, saving water consumption. The choice of a suitable flush system is determined by the need of each place and the water pressure of the locality and also plumbing configuration within the bathroom. Visit https://www.plumbersingapore.org/our-services/ to learn about prices for installation.
Stepwise Installation Process
- Dismantle Old Flush System: First, disconnect the water supply pipeline and remove the tank lid. Loosen the flush valve nut right at the tank base, and gently elevate the old flush system from the tank. Check the tank for cracks or damages before proceeding.
- Install New Flush Valve: Position the new flush valve within the tank, aligning with the outlet hole. Firmly attach it with provided nut and place plumber tape on it for a watertight seal. Confirm alignment for leakage prevention.
- Install the Flush Handle or Button: According to the type of flush system being used, attach the handle or button mechanism outside the tank. Connect this flush handle or button mechanism to flush valve inside using given chain or lever, ensuring that it moves freely without any obstruction.
- Reconnect the Water Supply: Re-attach water supply line to the bottom of the tank and fasten it securely. Slowly turn the water valve open to allow the tank to fill, checking for leaks around the connections.
- Test the Flush System: After the tank is full, perform a few trials to ascertain that it works well. Readjust the chain length or even the lever position for efficient performance if necessary.
Common Problems and Troubleshooting Tips
Some issues that may arise during installation are leaks, misaligned parts, and inconsistent flushing. If it is a leak, probably it is because of loose fittings or inadequate seals, which can be remedied either by tightening the fittings or applying more plumber’s tape. If flush does not work properly, make sure that there are no blockages and that the chain is of correct length. Refer to the manufacturer’s manual to get more information for troubleshooting.
Cleaning and Maintenance
A flush system that is newly installed will require some maintenance and cleaning so that it can function well and last long. Clean the tank and flushing components from time to time to avoid mineral accumulation especially for users living in hard water areas. Check the seals and connections for wear and tear, and if the parts require replacement, do so rather than later encounter major issues.
Conclusion
Installing toilet flush system is one of the best possible practical skills that can improve the utility of a bathroom and reduce water usage. Following this guide’s specific steps will help you get through the installation with confidence and ease. Routine maintenance ensures that flush systems will remain highly efficient and save money in the future by saving water as well. When in doubt, do not hesitate about hiring a professional to tackle the work and ensure everything is hassle-free.
